1. Map where the yellowing starts
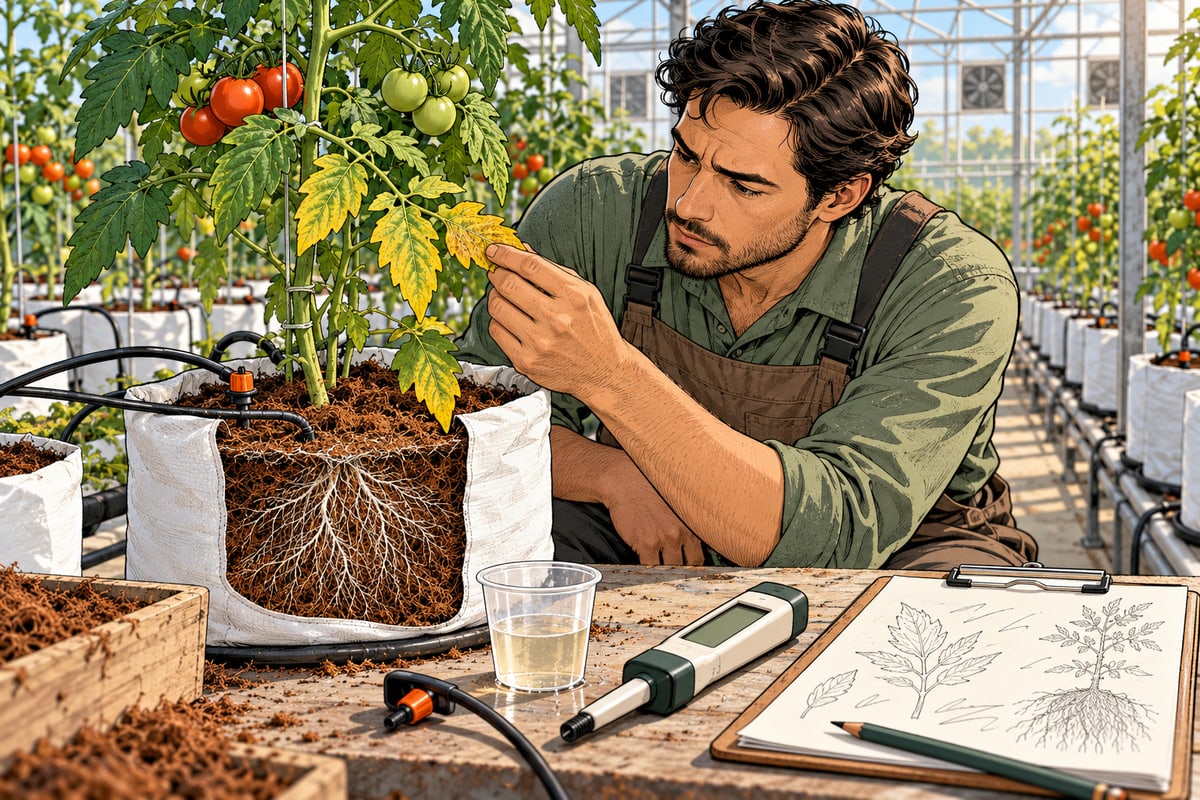
Begin with the pattern. Record whether symptoms appear on older or younger leaves, between the veins or across the whole leaf, and whether the problem is uniform across the row. Photograph both affected and healthy plants from the same angle.
Leaf position can narrow the investigation, but it should not be treated as proof. Penn State Extension’s hydroponic plant-nutrition guide explains that the mobility of individual nutrients affects where deficiency symptoms appear. Multiple stresses can still produce similar foliage.
Mark the affected plants on a row plan. A cluster near one valve, drain end or irrigation zone can point toward distribution or root-zone conditions rather than a whole-house fertilizer shortage.
2. Check delivery before changing concentration
Compare emitter output at the beginning, middle and end of the affected irrigation zone. Look for clogged drippers, kinked lines, uneven pressure, pooling beneath bags and drainage routes that remain blocked. Record the volume delivered over the same timed cycle.
The University of Florida’s greenhouse irrigation handbook notes that flooded roots lose access to oxygen, which reduces their ability to absorb water and nutrients. Too little solution can also concentrate salts in the bag. This is why an irrigation check should come before simply making the feed stronger.
Compare incoming nutrient solution with representative drain or leachate readings using the method and targets set by your crop adviser. A single bag should not represent an entire greenhouse.
3. Inspect the roots and moisture pattern
Open or sample a small number of representative units: affected, borderline and healthy. Check whether the root zone is uniformly moist or has persistently saturated and dry areas. Healthy young roots are commonly light-coloured and firm; damaged roots may be darkened, water-soaked or weak.
UMass Extension’s greenhouse root-disease guide lists excessive soluble salts and suffocation from overwatering among non-living causes of root impairment. It also stresses that accurate diagnosis matters because root diseases and non-disease damage can look similar above the substrate.
If roots are declining, adding more fertilizer can raise EC without correcting the underlying problem. Isolate suspect plants and obtain professional diagnostic support where disease is possible.
4. Measure substrate pH and EC consistently
Use a defined extraction method, calibrated meters and comparable samples. Write the method beside every result. A PourThru value, a 1:2 dilution and a saturated-media extract cannot be interpreted as if they were the same test.
Purdue Extension recommends tracking substrate pH and EC over time and combining those results with production records. pH influences nutrient availability, while EC reflects dissolved salt concentration. Purdue also recommends multiple samples for each crop, container, substrate and fertilizer group rather than relying on one reading.
If substrate pH is moving upward, review irrigation-water alkalinity as well as feed pH. Our water alkalinity versus pH guide explains why those measurements answer different questions.
5. Confirm before you correct
Place the evidence together: leaf pattern, row location, emitter output, root condition, moisture distribution, feed pH/EC and substrate pH/EC. Then decide what is still unknown. A laboratory substrate or tissue analysis can distinguish an actual shortage from a nutrient that is present but unavailable.
UMass advises checking roots as well as foliage because overwatering, cool substrate, pests or root disease can resemble a fertilizer problem. Its greenhouse troubleshooting note recommends regular scouting and media testing to identify problems early.
| Check | Record |
|---|---|
| Foliage | Old or young leaves; interveinal or uniform; row position |
| Irrigation | Timed emitter output; pooling; drain path; zone |
| Roots | Colour, firmness, distribution and moisture pattern |
| Chemistry | Feed and substrate pH/EC, method, meter calibration and date |
| Changes | Fertilizer lot, irrigation timing, weather and crop stage |
Turn the findings into a better substrate trial
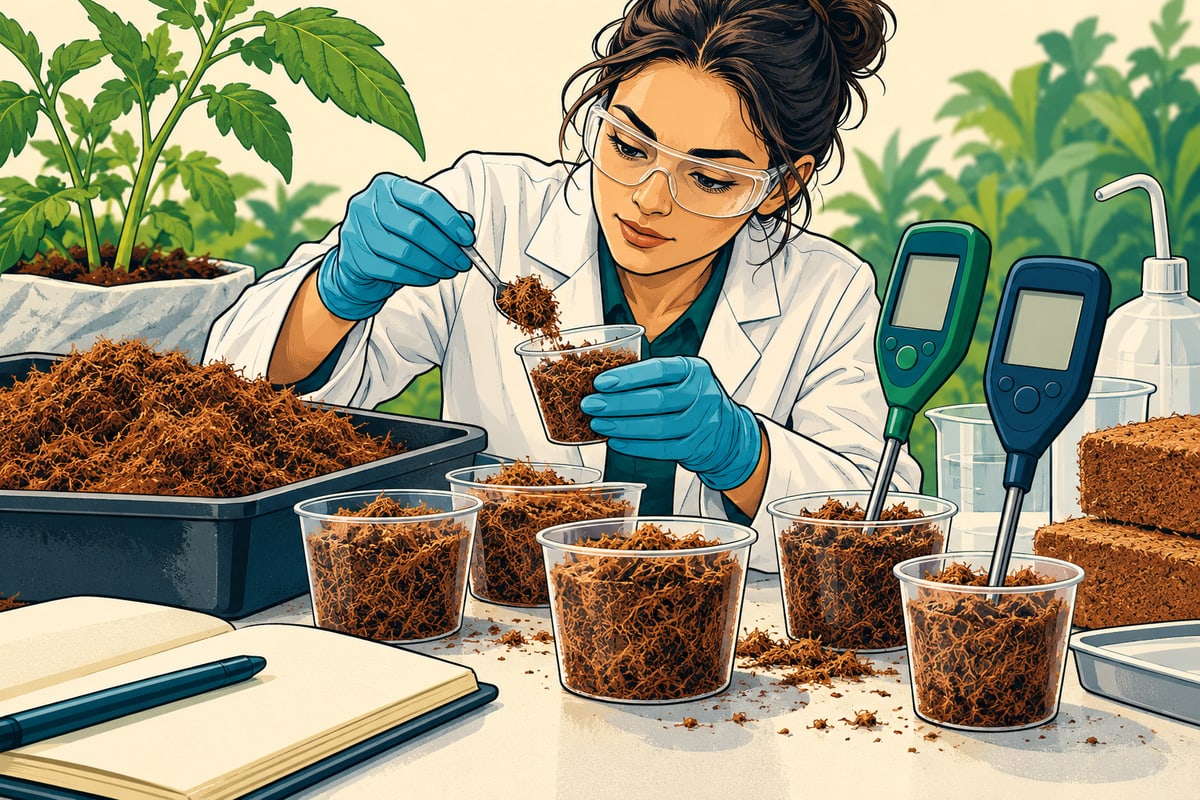
When comparing cocopeat samples, run them under clearly recorded irrigation and nutrition conditions. Keep the approved product code, particle specification and treatment description with the crop log. That makes it easier to separate a material difference from a change in water, management or equipment.
For test-method details, read our cocopeat EC and pH report guide. If you are planning a new slab format, the growbag size and drainage guide lists the information to include in a supplier brief.
The practical principle is simple: observe, measure, compare, then correct. Yellow leaves deserve investigation—not an automatic fertilizer increase.
PLAN YOUR NEXT ORDER
Turn your requirements into a clear specification.
Share your application, preferred format and quantity with Teral.
Discuss your crop and substrate requirementsSources and further reading
Sources support the factual background; analysis and buying checklists are Teral editorial guidance. Check later notices before making a time-sensitive decision.
- Penn State Extension — Hydroponics Systems and Principles of Plant Nutrition
- University of Florida IFAS — Irrigation of Greenhouse Vegetables
- Purdue Extension — pH and Electrical Conductivity Measurements in Soilless Substrates
- UMass Extension — Root Diseases of Greenhouse Crops
- UMass Extension — Scouting and Troubleshooting Plant Nutrient Problems